
Whether your shop is working directly with a manufacturer on taking on production work themselves, there are still some details and advice to keep in mind during the planning stages of an interior ADA project beyond understanding guidelines.
Let’s take a look at a few of these pointers that your shop needs to heed attention to during the early planning stages of an ADA project.
REGULATIONS: Local vs. Federal. Although there is a Federal ADA code, keep in mind that local interpretations can prove more stringent. “The Federal law is the basis of all regulation, however the local ADA interpretation is the none that the sign makers will have to follow,” says Charles Kelly, Jr., president of architectural sign systems provider Clarke Systems. “Confirm first what’s written in your local region code and then work from there.
“As time has passed, the correlation between the State and the Federal has improved immensely.”
SITE SURVEY: Assumptions. If you’re working on an ADA job where there is already existing signage (either a renovation or incorporating ADA with pre-existing signage), don’t assume that everything existing is already correct and compliant. “Bring irregularities to the attention of the buyer and list them in your survey,” says Kelly, Jr.
He also states the importance of reviewing all the mounting areas and paying attention to any wall obstructions (security card readers, for example) then working from there.
“These obstructions are going to need consideration prior to your installation team’s arrival,” says Kelly, Jr. “One often overlooked situation is a door that swings out towards the pedestrian. In these cases, the installation of the sign has to move away from the door and be located nine inches on center from the door frame.”
Also Kelly, Jr. adds, if installing suspended or projecting signs (besides installing at the appropriate ADA height of eight-four inches to the bottom of the sign), “Make sure that they are not being placed where they will impair the sightline of traditional exit signs and/or come within eighteen inches of the sprinklers.”
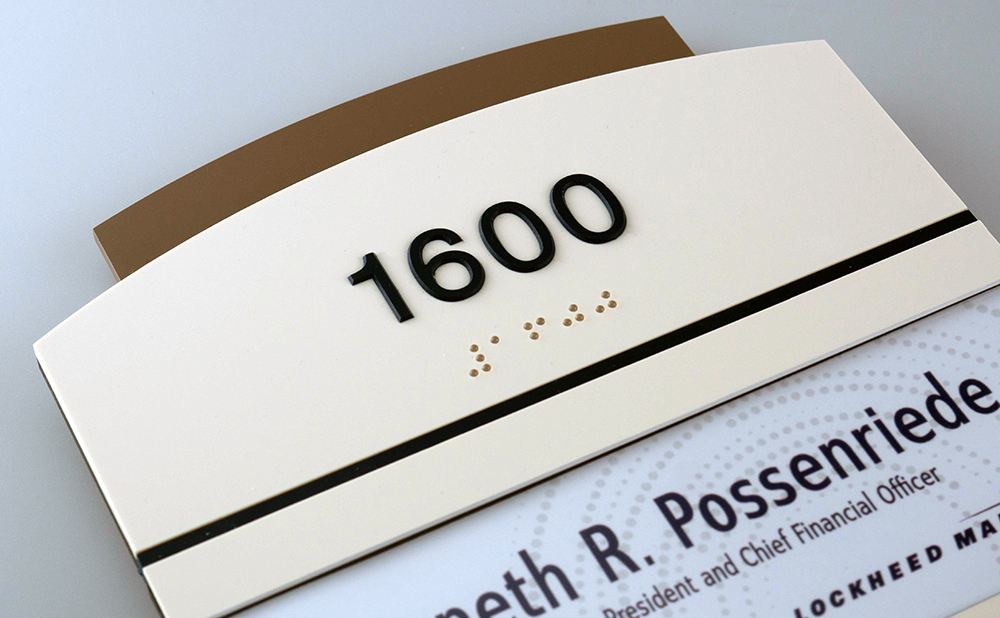
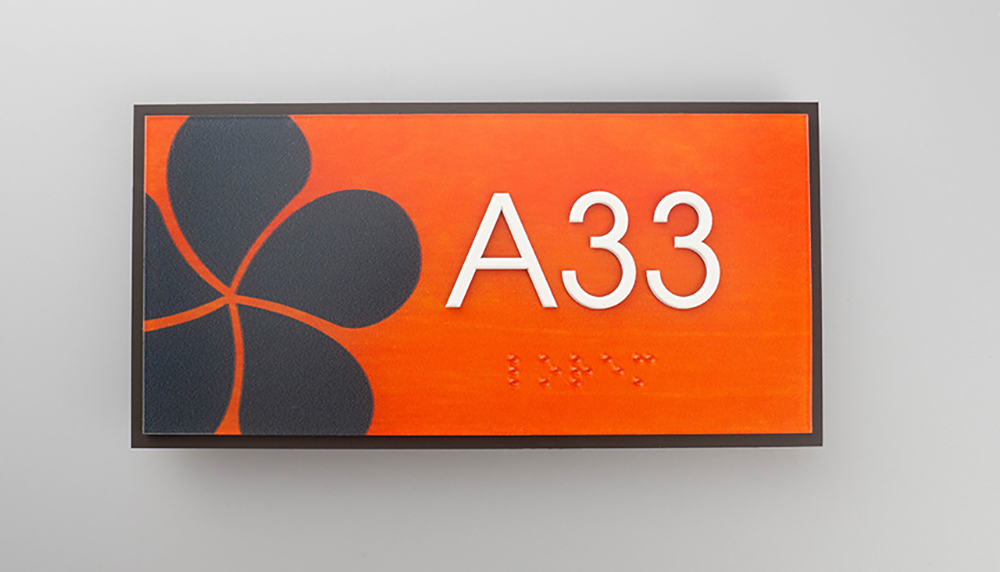
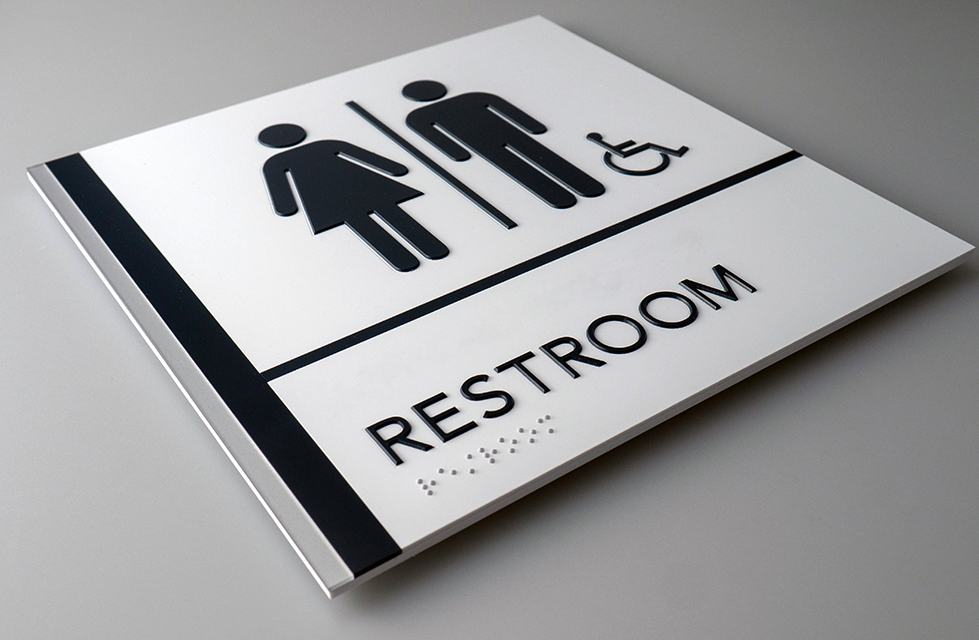
DELIVERABLES: Numbers versus text. There are two ways to go about developing your copy for ADA signage in a facility. Text can either be numeric to identity a fixed location or room (“1250”) or the name for a specific space (“Janitor,” “Closet,” “Conference Room,” etc.).
“We tend to make signs with the numbers and then use a changeable insert. Ongoing office changes are the nature of the beast, and they can affect this,” says Kelly, Jr. “It allows users to change the inserts using a paper or acetate insert that keeps the information up to date while at the same time complies with the Americans with Disabilities Act.”
When putting together a work order or design approval, text-based sign designs can also affect the budget of the sign, particularly since these types of signs are going to be bigger due to more characters.
“For long-term effectiveness, it is always easiest to use room numbering and inserts for those rooms that are known to have the greatest amount of change,” says Kelly, Jr.
DESIGN: Font decisions. A large pallette of fonts are now included in software programs. “However not all fonts are ADA-compliant,” says Kelly, Jr., “so be cautious.”
Arial, Helvetica, Times New Roman, and Verdana are considered to be the ideal font choices for ADA signage.
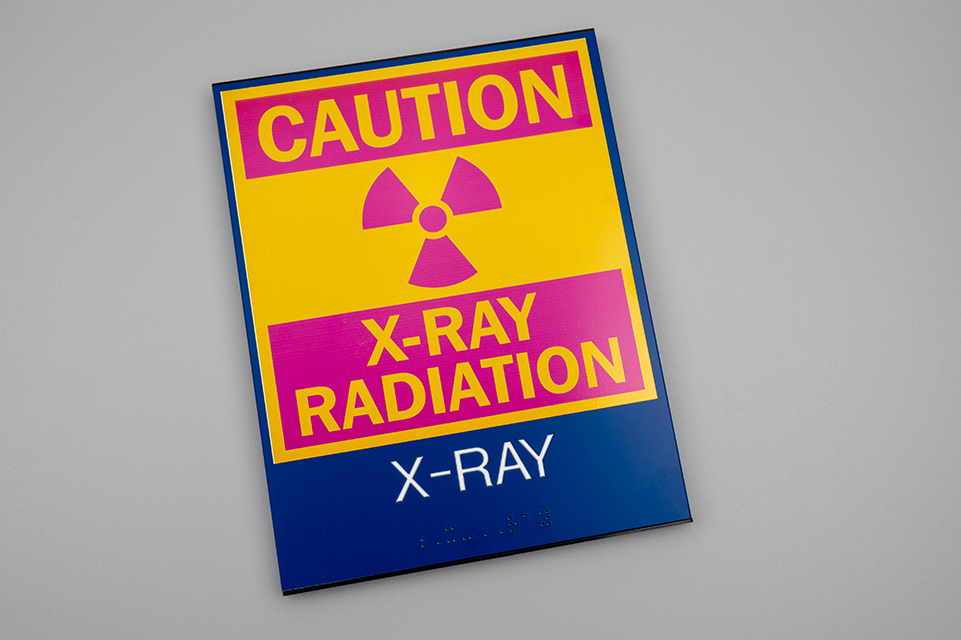
The need for a 4.5-to-1 contrast ratio can be challenging too. “Rowmark has created color pallettes and combinations that can take some of the guess-work out of understanding contrast level,” says Kelly, Jr.
SAMPLES: Check with manufacturers. The good news is that most manufacturers have a standard sample that they’ll give customers upfront to try out; even-better news is that a super-large order of ADA signage can provide a first-sample piece to review before production further proceeds. It’s really about quantity in order to test quality.
“If the piece is relevant to a very large project and has a certain color background, text, or any other kind of imagery,” says Kelly, Jr., “a working sample can be supplied to help you understand what the finishes product is going to look like before the manufacturer proceeds into manufacturing.”
TRENDS: 3-D direct printing. Kelly, Jr., points out how high-speed printers printing multiple layers of ink that translate into a 1/32-inch-high graphic are proving to a big time-saving breakthrough.
“Photopolymer or the applique method are multi-step processes. With Direct Color Systems units, both in small bed and large bed, you take a finished substrate, lay it to the table, and print to it with an ink that has an adhesion factor built in,” says Kelly, Jr. “Basically the sign is ready to install as soon as you take it off the bed—as long as you adhere to ADA guidelines.”
Kelly, Jr., says that, even with 3-D direct printing, there is still a need for other equipment on the shop production floor—rotary engravers, laser engravers, etc. “All of them complement the elements we’re talking about, as well as expand a shop’s capabilities when it comes to ADA projects,” he says.


